
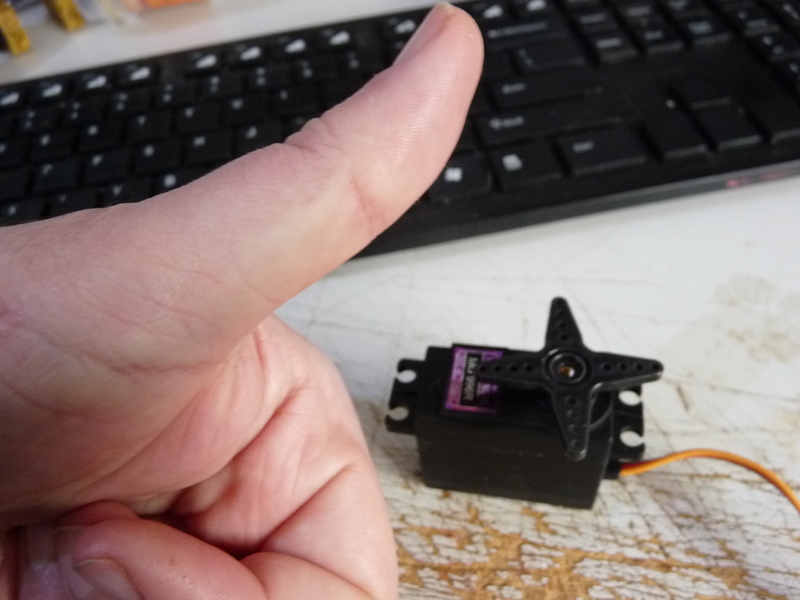
MG996R type servos from China are cheap and effective, unlike the “originals” they typically have a bronze/brass/something-metal bushing at the top of the output shaft, and a nylon/teflon/something--plastic bushing at the bottom of the output shaft.
Some people would like to see ball bearings instead of bushings, personally I don’t know if it really is that important, but anyway, it’s an easy job.
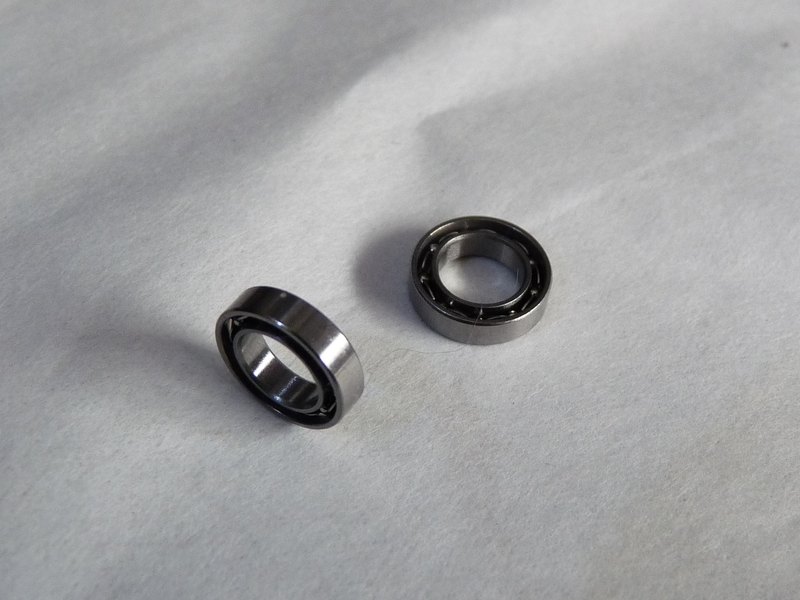
First, get two of the appropriate ball bearings, they have a 6mm inside diameter, 10mm outside diameter and 2.5mm thickness, the bearings are often called MR106 but this seems to vary in height some 2.5, some 3mm, you want 2.5mm so make sure of that. I sell the correct size bearings for MG996R bearing upgrade here, or buy them elsewhere, whatever you like.
First test your servo, you want to make sure it’s working good before you make any changes so you know if you cocked it up or if it was cocked up already, it will be useful later if you have a servo-tester that can automatically cycle back and forth.
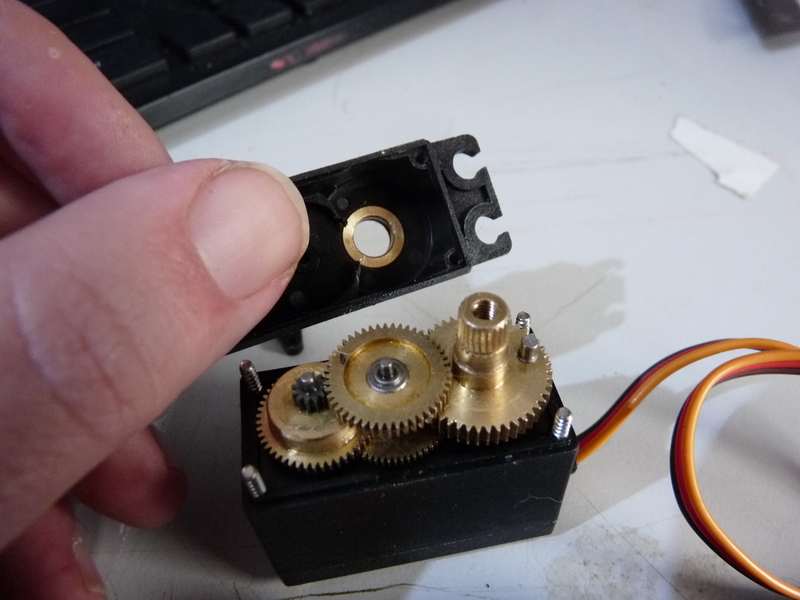
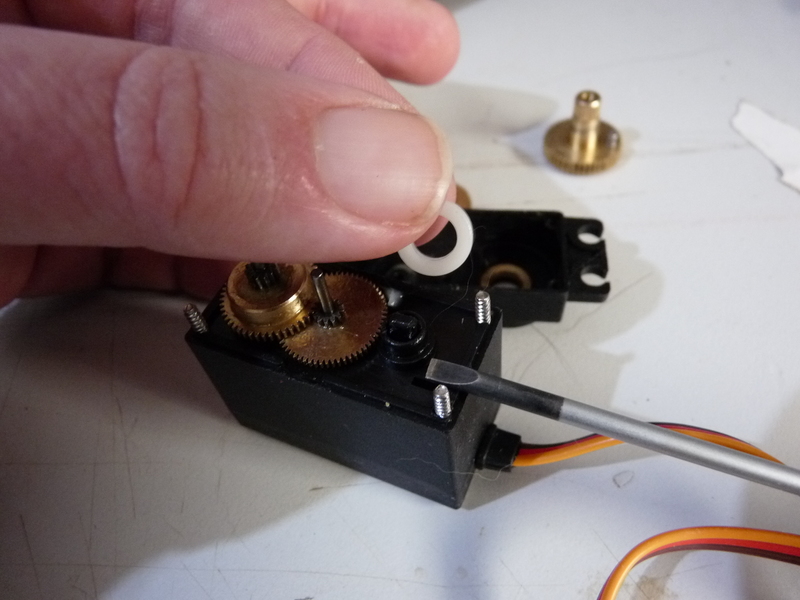
Disassemble the servo by unscrewing (but don’t remove) the four screws and removing the cap, of course take off any servo horn that is presently attached. Once you have removed, carefully, the top cap always hold the servo upright so the gears don’t fall out everywhere.
Remove the top most gear, this is a composite gear with a large gear on top and a small joined to it on the bottom.
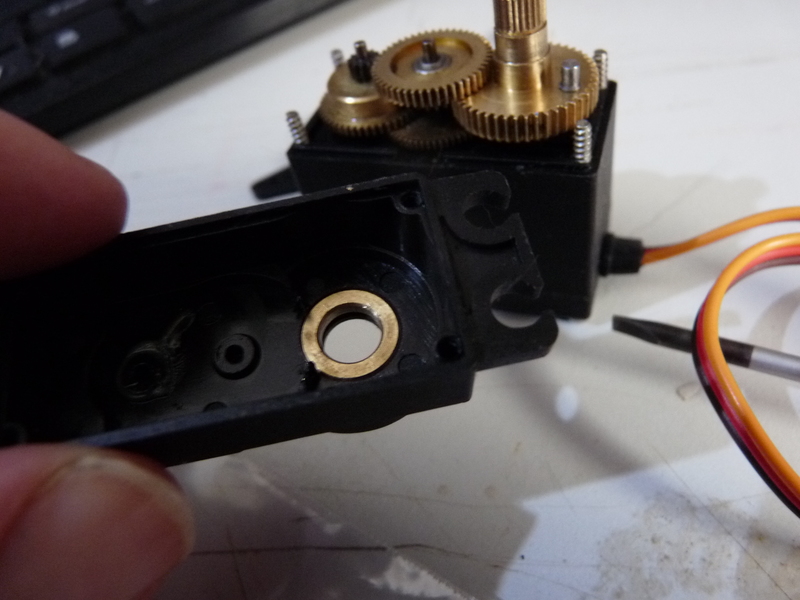
Now remove the main shaft with it’s gear to reveal the plastic bushing beneath.
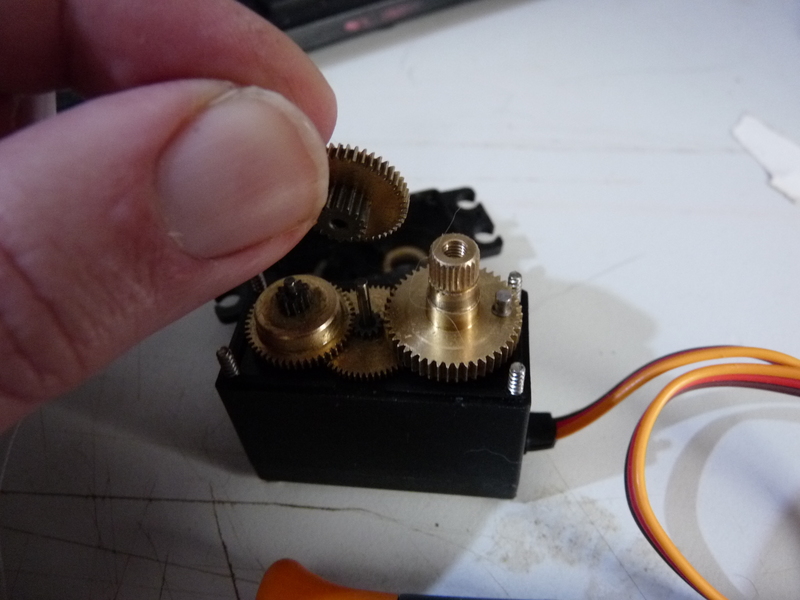
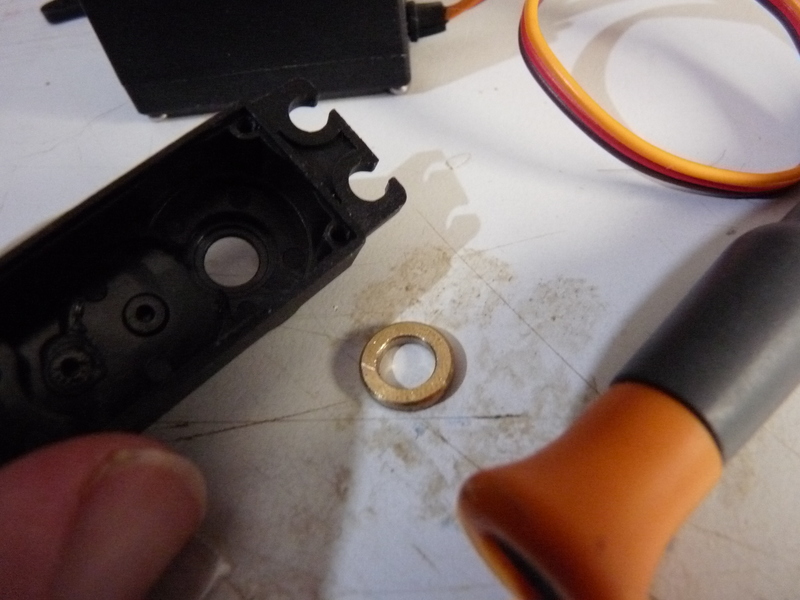
Remove the bushing using a small flat blade screwdriver to prise it gently off.
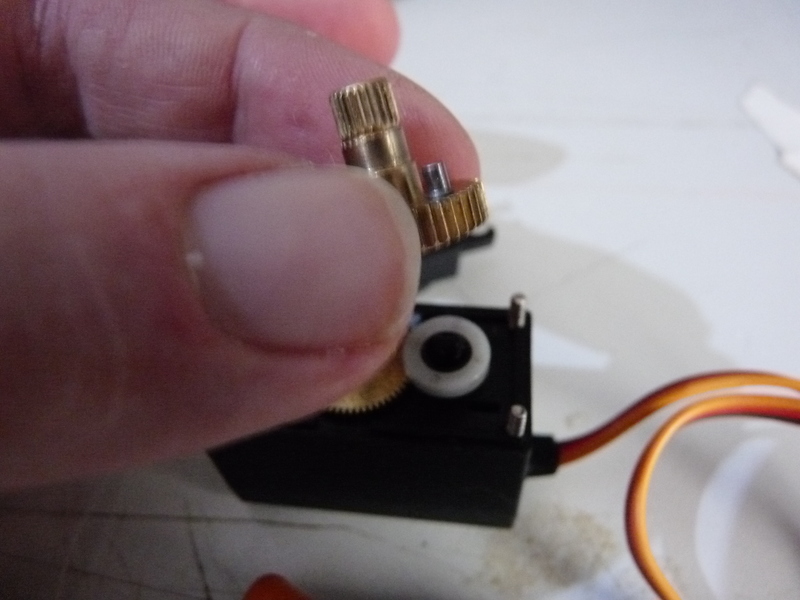
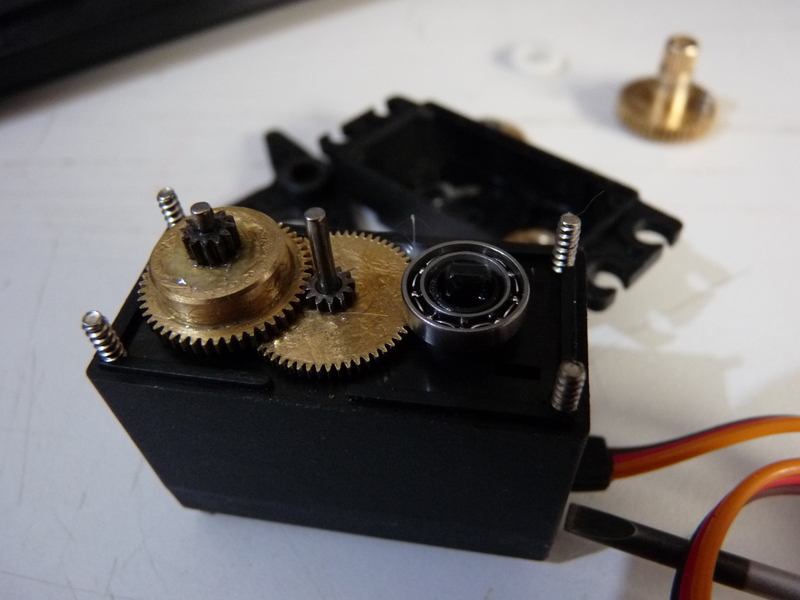
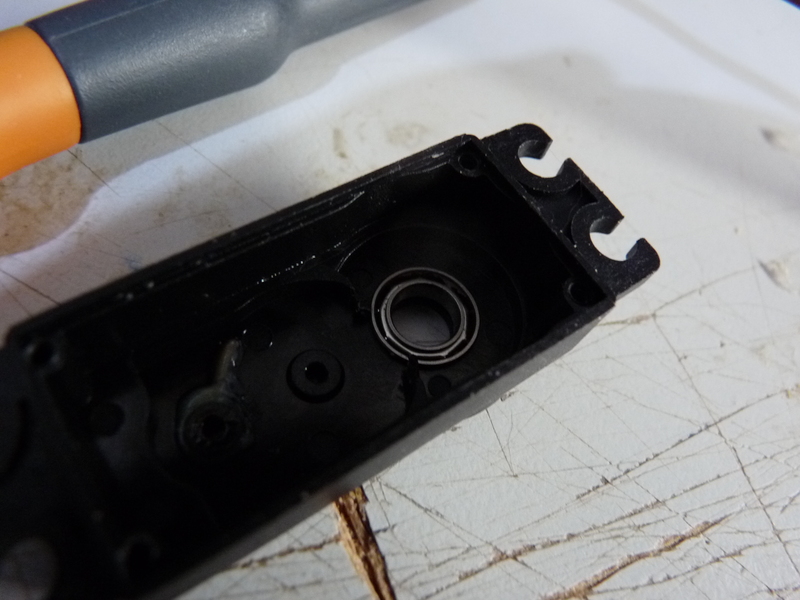
Place a ball bearing in it’s place, I don’t really know, but I suggest to put the “open side” (where you can see the balls) facing up, as the main gear will therefore close that off. Make sure it’s pretty level.
Place the main shaft back on, taking note that the small stub on top of the gear needs to be nearest the end of the servo when you rotate the shaft, not near the middle because that’s where the other gear will go. Putting the shaft on the bearing may be a tight fit, and you need to be sure you got it in straight.
Alternatively, you can put the bearing into the main shaft and use a clamp or vice to, carefully, seat it in the shaft’s recess before assembling it back into the servo.
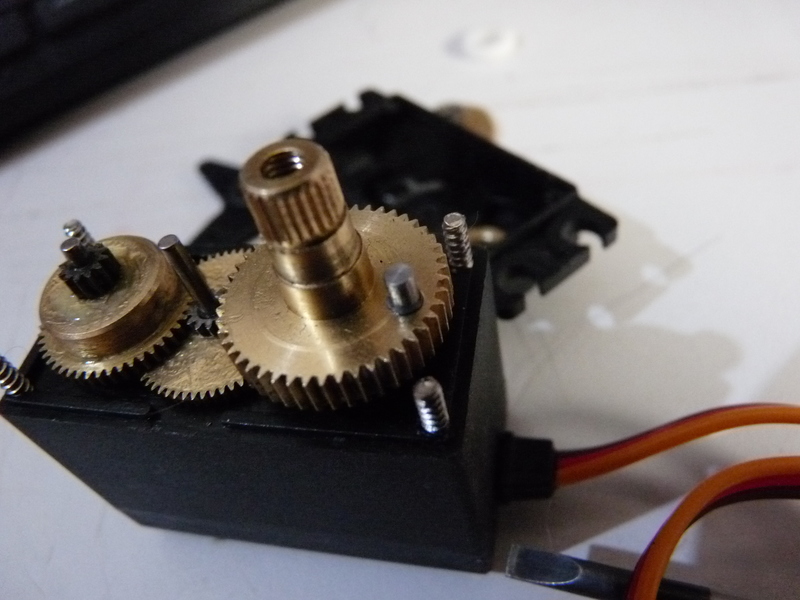
Rotate the servo shaft to make sure it’s not on a wonky angle or whatever and to confirm that you got that stub on the gear rotating towards the end of the servo, if it’s towards the middle, pull off the main shaft again, rotate it 180 degrees, then put back on.
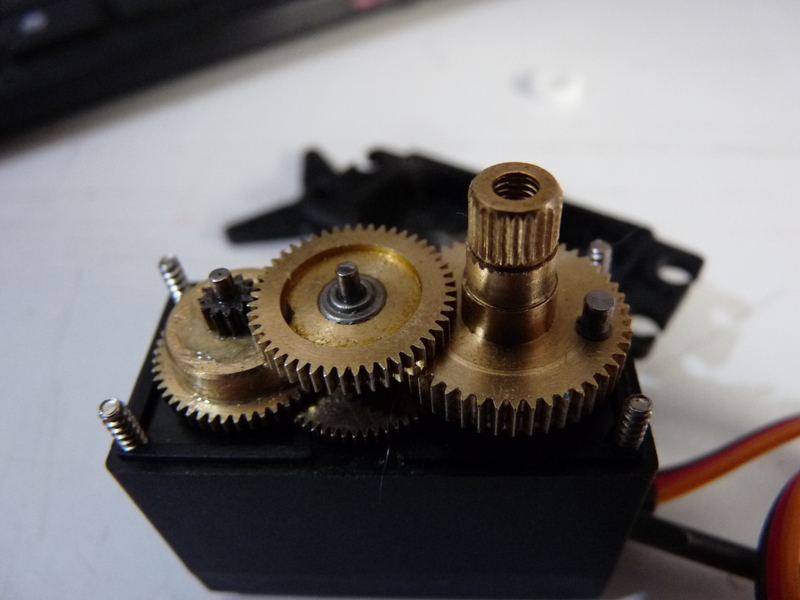
Place the smaller gear back in place, jiggle it until it settles in.
Now take the cap and observe the metal bushing which is in the end, using a screwdriver from the outside push the bushing out, replace it with the other ball bearing, again I don’t know but I would suggest putting the open side “into” the housing so it is closed of, again make sure it’s pressed in level.
If you can’t find the bushing in the cap, it probably came out attached to the main shaft, pull it off the main shaft it won’t be held on very tightly. That or it’s on your floor.
Fit the cap back onto the servo body, and do the screws up part way, do not do them up the whole way yet. Put a servo horn on so you can see movement easier.
Connect the servo to a suitable servo tester or receiver and cycle the servo back and forth, preferably your tester can do this automatically, while it cycling, do the screws up in a cross pattern like if you were putting a wheel on a car, you may as you tighten a screw that the servo starts to bind in some position, back off the screw (and maybe others), jiggle the cap, tighten again, eventually you’ll get it back together nice and even and the servo will be happy to run through it’s entire range.
Job done, put a sticker on the servo so you know you modified it.