Heat Sealer for Small Plastic Bags
By: James
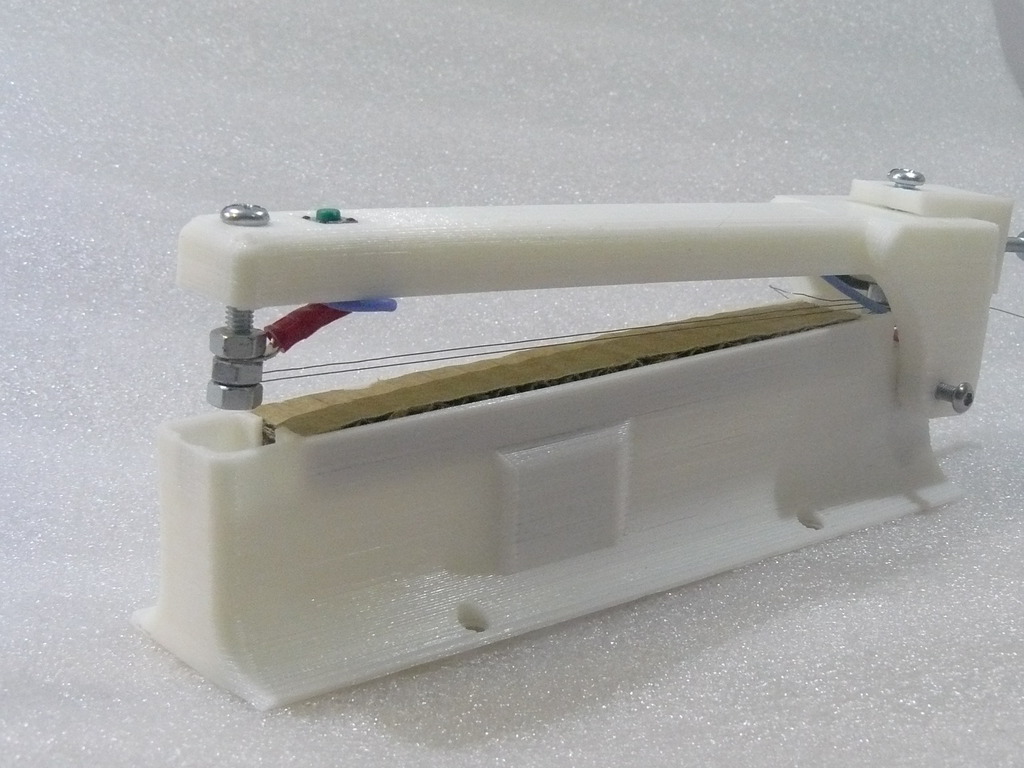
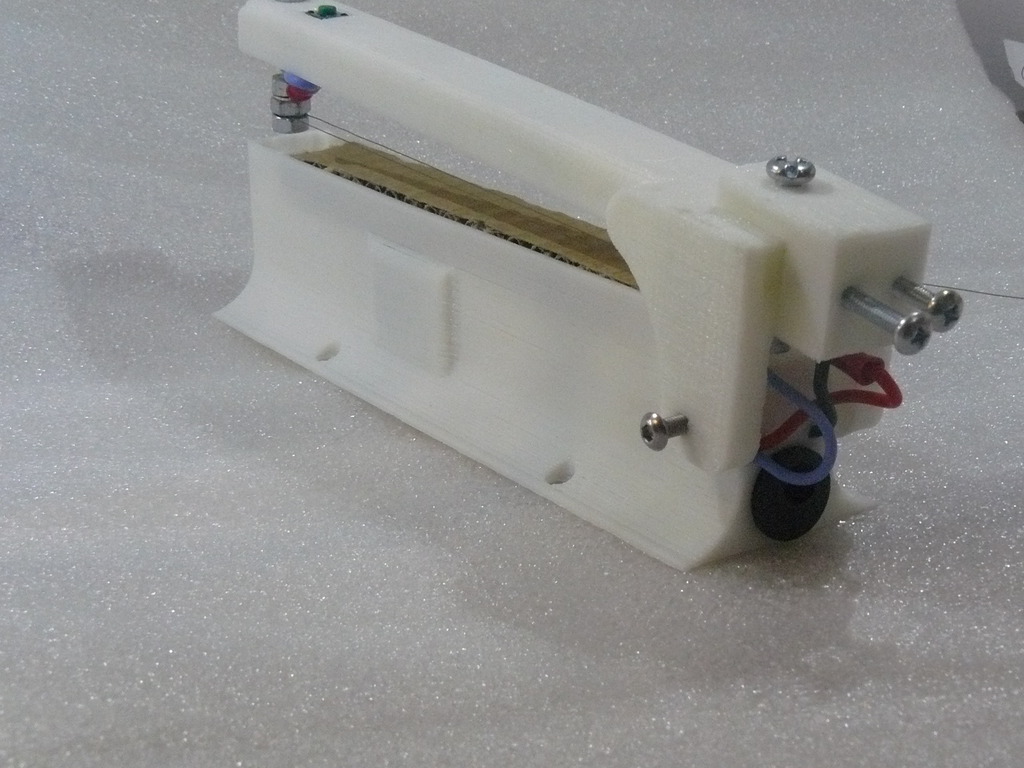
A heat sealer, made from PLA... yes, it really works and doesn't melt into a pile of goo :-)
There are 3 printable parts, the arm, base and tensioner, then you will need to add...
- Some resistance wire.
- A DC Panel Socket
- A Relay
- A 6mm Tact Switch
- A diode (not really important exactly what just for clamping the relay coil's inductive spike, I used a 1n4004 because it was handy)
- A 12v 2W power supply
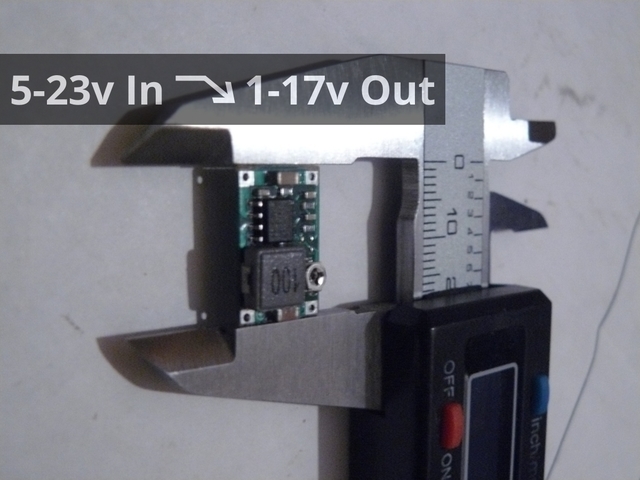
- A minature buck converter
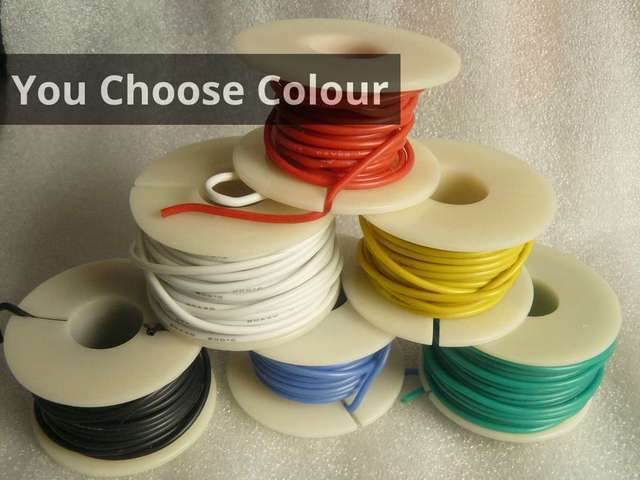
- Wire
- M3 and M4 screws and nuts, M4 should be at least 25mm and M3 at least 30mm
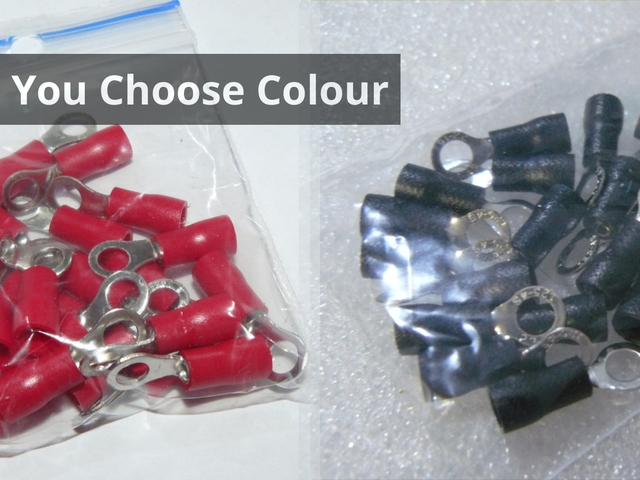
- 4MM Ring Crimp Terminals
- Corrugated cardboard ~2.5mm thick (ie, from an old cardboard packing box)
- Hot glue
- Kapton tape optional
Printing
The base prints more or less without supports, a couple places will be rough but "plastic finds a way", add support if your bridging isn't so good. Cut 3 pieces of carboard and fit them into the top of the base these act as the cushion for pressing the sealing wires into.
The tensioner should be printed on it's side so that in use it is not trying to pull the layers apart. Insert two M3 nuts in the holes in the back of the tensioner.
The arm should be printed upside down so the hinge is facing up, no support. On the back of the arm where the tensioner fits there is a cavity which if you want you can fill with epoxy or something for more strength, I didn't need to the plastic is strong enough as is.
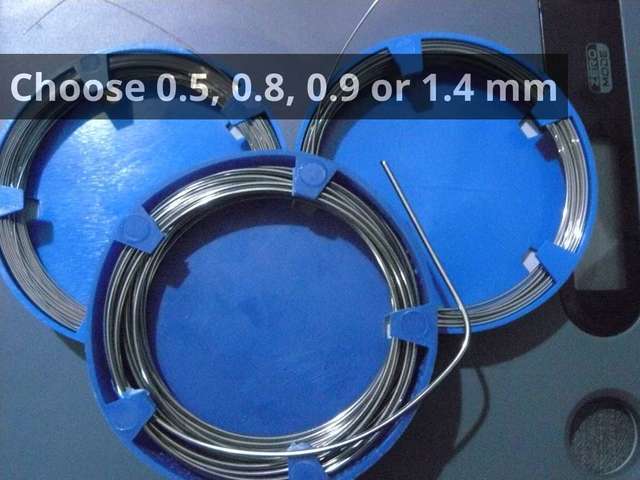
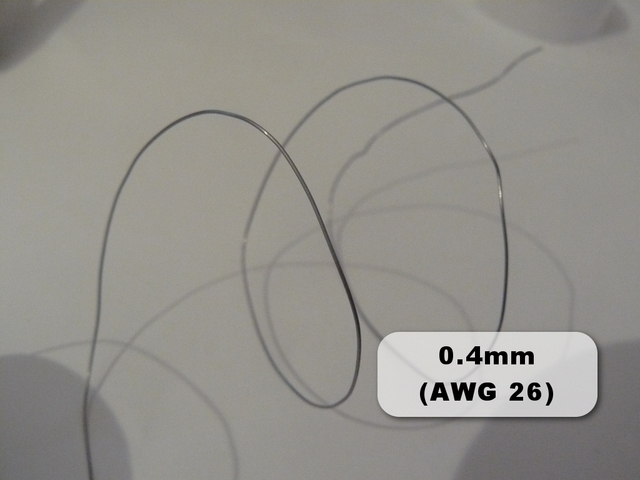
Resistance Wire Selection
My preference currently is 0.5mm Stainless Steel, this has the distinct advantage of not expanding much with heat so tensioning is less of a problem.
Alternative would be Kanthal or Nichrome 0.2 - 0.4mm.
Depending on the wire, you may need a single run (single resistance wire running from back to front), or a double run (parallel wire). For the 0.5mm stainless, a single wire is working for me. For Kanthal it was better with a double wire.
For a double wire, simply loop the wire around the bolt at the open end of the arm and run it straight back to the hinge end again (as shown in the main photo).
Assembly
For the resistance wire, pass it through one of the 4mm crimps (where the wire goes, and bend it back, then crimp down (the bend helps stop it pulling out under tension). Only crimp it on one end (the hinge end) the other end just gets wrapped around the bolt so you can get it initially taut.
Put a 4mm bolt and nut through the slotted hole on the arm, put the "positive" ring connector from the relay NO contact on the bolt, followed by the ring connector attached to the resistance wire, add another nut and tighten.
Put another 4mm both and nut through the hole at the open end of the arm, add the ring terminal which goes back to the negative.
For a "single run" of wire (0.5mm Stainless), pull the wire taut and wrap it around the bolt a couple times. For a "double run" just loop the wire around and pull it back to the hinge-end bolt, wrap it around there. Again, I recommend the single run of 0.5mm stainless, it's easier and less breakable!
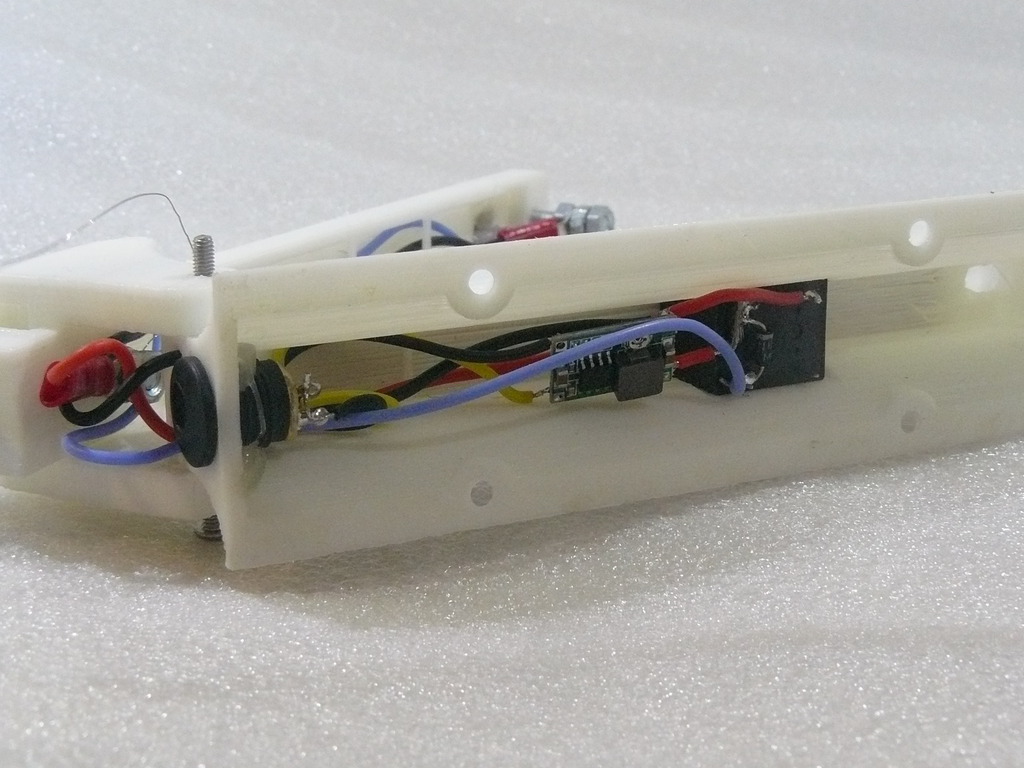
Wiring is pretty straight forward, circuit diagram in the files, one end of the switch can be connected direct to the negative heating-wire 4mm bolt in the same ring crimp so you only need to bring 3 wires out from the back to the arm, positive, negative and one leg of the switch.
Hot glue is used to secure the switch and the power socket (there isn't room for the usual retaining nut for the socket).
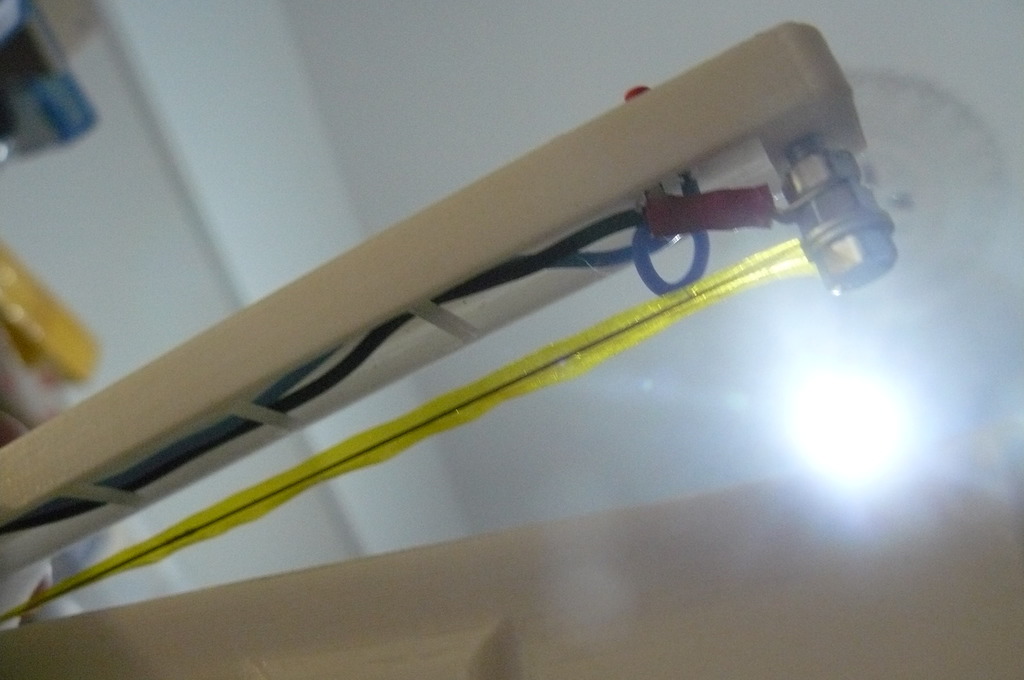
If you have some Kapton tape (5mm wide best), a length can be run down the hotwire as I have shown in one of the images, this will prevent the hotwire from actually sticking to the the bag and provide a better "sealing" action instead of a "cutting" action, the bag does not stick to the kapton.
Usage
Usage is simple, plug in your power supply, put the bag in the obvious place press down the arm gently and hold the button for about 5-7 seconds to seal (experiment to find your time).
Licence
James has not specified any specific Licence for the files below, this means they have indicated that this project can be freely shared, accessed, used, reproduced, remixed, copied... without limitations
Related Gogo:Tronics Products
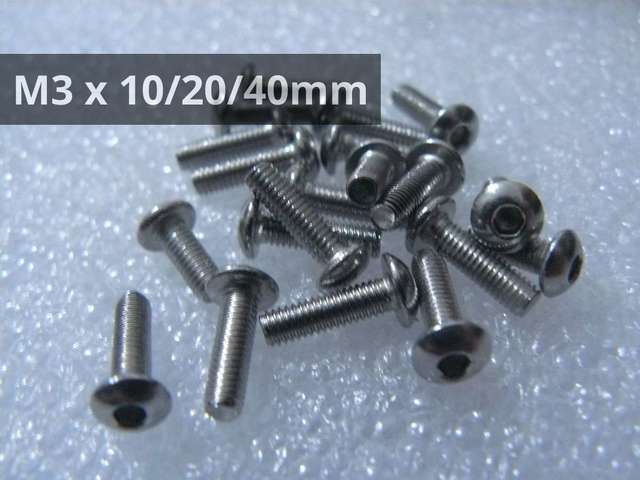

M3 Cap Head Screws 20pcs - You Choose Length
From $2.50
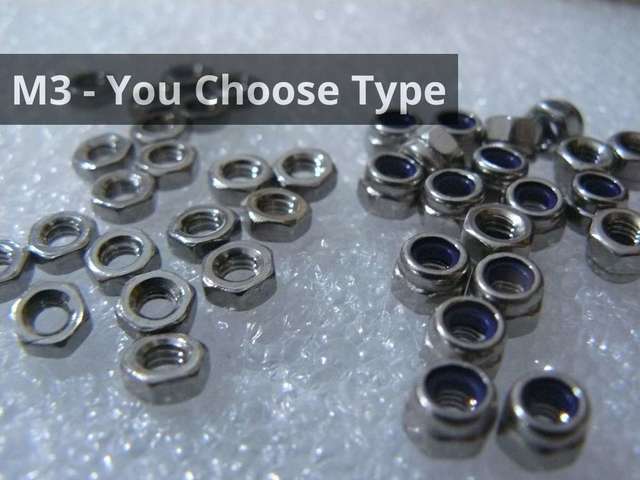
M3 Nuts 20pcs - You Choose Type
From $2.50
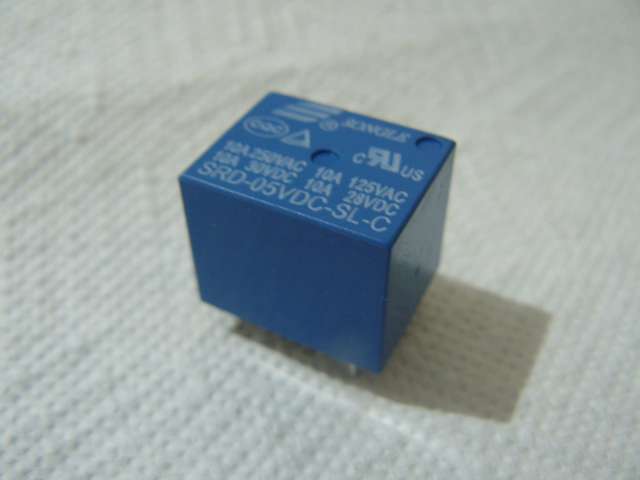
Relay, 5v Coil
$2.20